
Essential Materials You Actually Need
Let’s be honest — you don’t need to spend a fortune to start. Here’s what works:
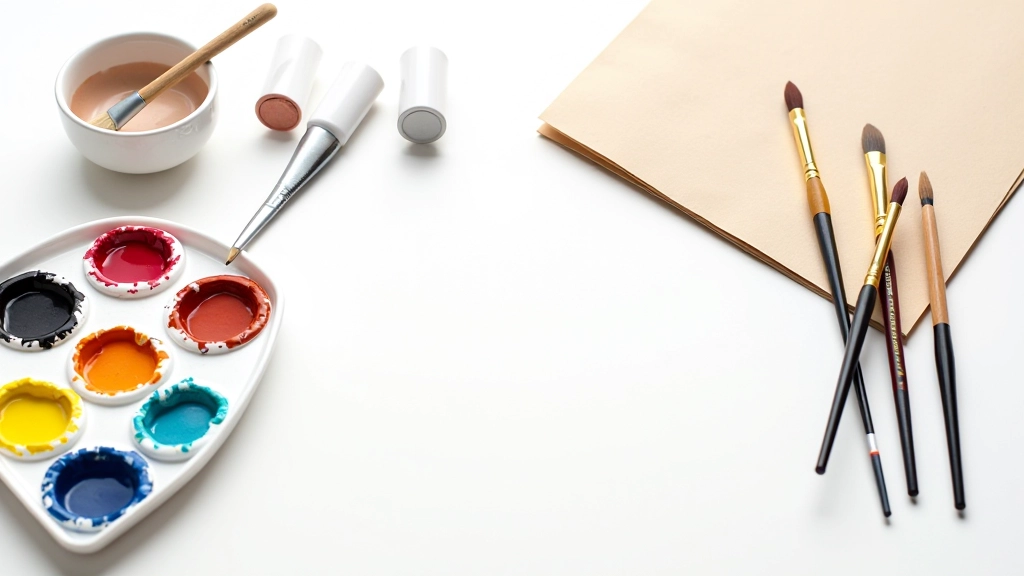
Watercolour Paints
A basic set of 12-24 colours is perfect. Tube paints give you more control than pan sets when you’re learning, and they mix more easily.
Brushes
You’ll want three types: round brushes for detail work (sizes 4-8), flat brushes for washes (sizes 12-16), and a larger mop brush (1-2 inch) for broad strokes.
Paper
This matters more than people think. Aim for at least 140gsm weight. Cold-pressed paper has texture that holds pigment beautifully. Hot-pressed is smoother if you prefer fine detail.
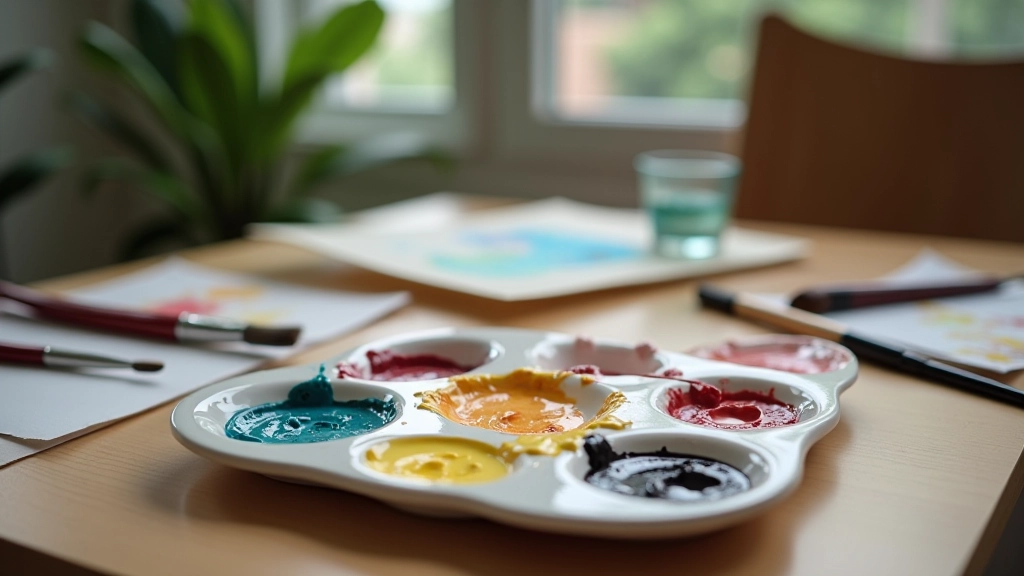
Water and Palette
Two containers of water — one for rinsing, one for clean water. Any ceramic dish works as a palette. We actually prefer white ceramic because it shows true colours without distortion.
Core Techniques That Change Everything
There’s three foundational techniques that unlock watercolour. Master these and you’ve got options.
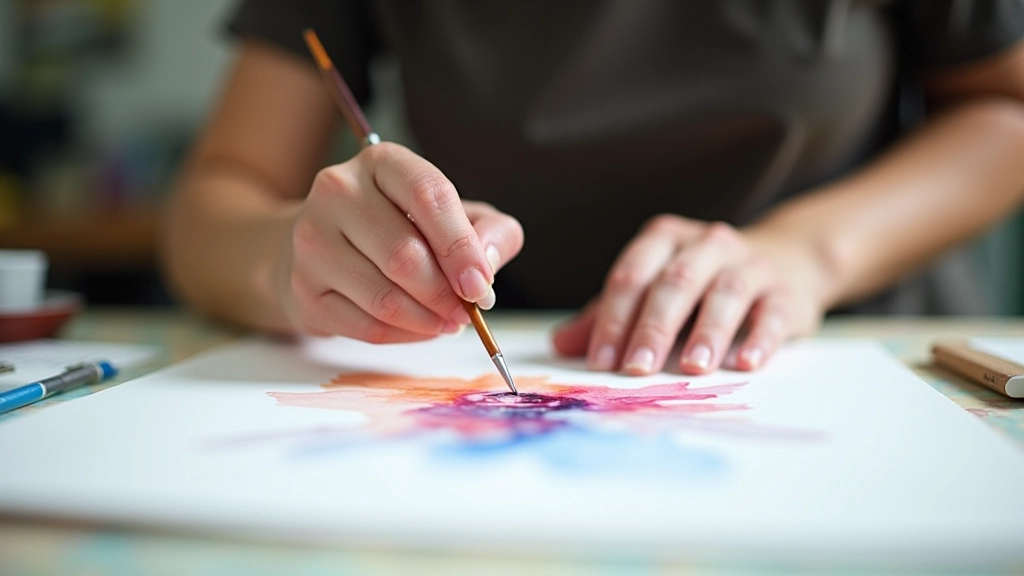
Wet-on-Wet
Pre-wet your paper with clean water, then drop pigment in. The colours bloom and blend naturally. It’s unpredictable but that’s the beauty — happy accidents become compositions.
Wet-on-Dry
Apply wet pigment to dry paper. You get crisp edges and control. Great for building layers and adding definition after your initial washes dry.
Glazing
Layer transparent washes over dried layers. Each layer shifts the colour beneath slightly. Creates depth and luminosity that’s impossible to get any other way.
Educational Note
This guide is designed to introduce watercolour fundamentals for personal creative exploration. Everyone develops their own style and preferences — these are starting points, not rules. Practice matters more than perfection.
Colour Mixing Isn’t Magic
Colour theory sounds complicated but it’s really just understanding how pigments behave. You don’t need to memorize formulas. You need to experiment.
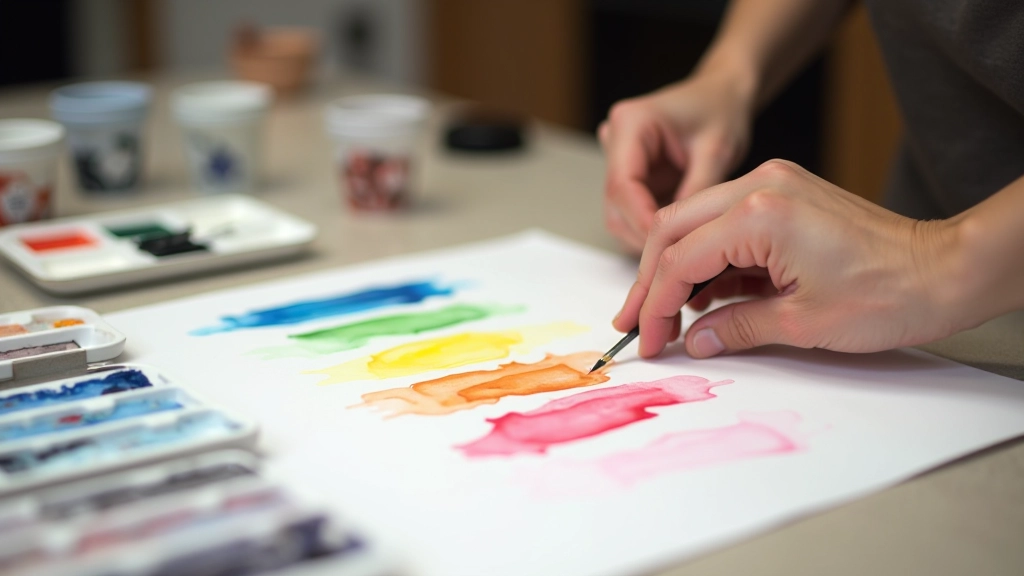
Start with the three primary colours — a warm and cool version of each. That’s six colours minimum. From there, you can mix almost everything. Reds and yellows make oranges. Yellows and blues make greens. Reds and blues make purples. What surprises people is how much variation you get from these combinations depending on the ratio and the specific pigments.
The real lesson: keep a mixing chart. Paint swatches of every combination you try. Label them. Over three or four sessions, you’ll see patterns. You’ll notice certain pigment pairs create muddy browns while others stay vibrant. That’s your personal colour reference guide — more valuable than any chart you could buy.
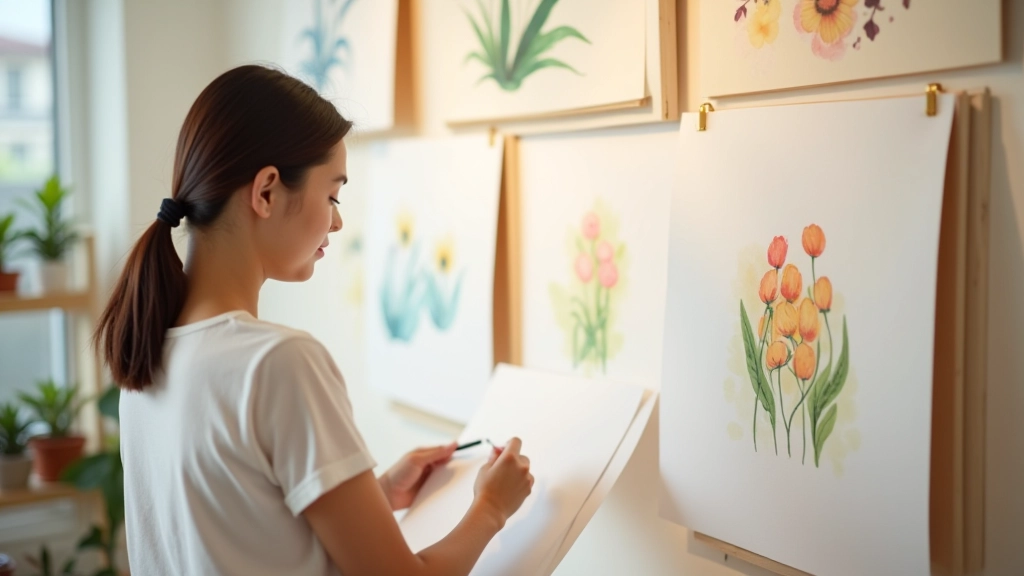
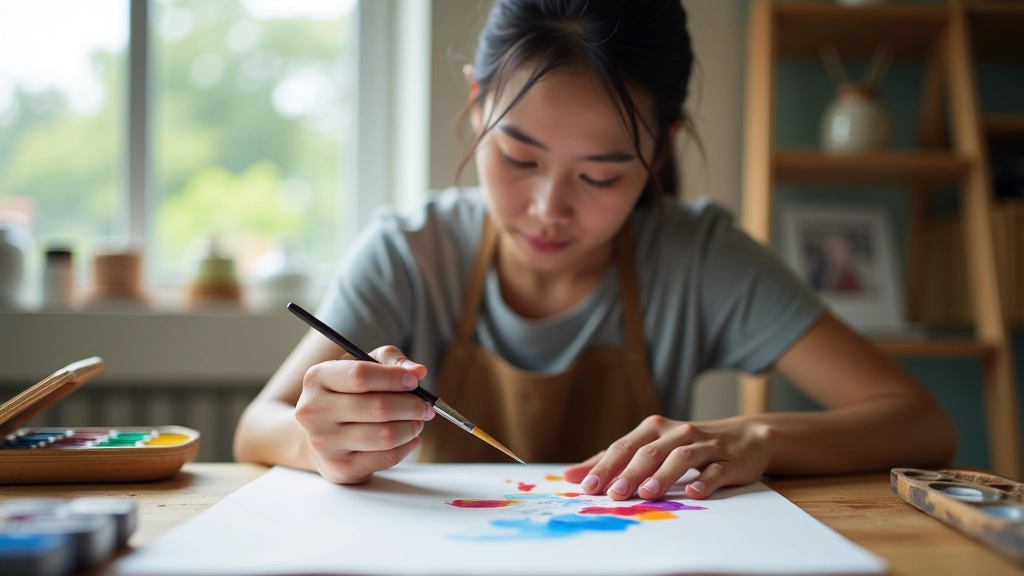
Your First Session — What Actually Happens
We typically structure beginner sessions around a simple subject. Flowers work well. So do leaves, water, or simple landscapes.
First 10 minutes: we talk about the materials, how the paper absorbs water, why pigment behaves differently when wet versus dry. Nothing theoretical — just hands-on observation.
Next 30 minutes: you’re painting. We start with a light wash — barely any pigment, lots of water. Get comfortable with the brush. Feel how the water moves across the paper. Add more colour gradually. Most people make their paintings too dark too quickly. Learning to work light to dark is the biggest shift from other mediums.
Last 20 minutes: we add detail. Darker values, finer brushwork, maybe some dry brush texture. By the end, you’ve got something you created. It might not look like your reference, but that’s fine. It’s yours.